The outside of the box is coated with three coats of an oil / poly finish. I polished the final coat with a 4000 grit sanding disk.
Also, during the 11th week, we had a class project to make a wooden plane for veneer jointing. This project was done after hours and during lunch time. I finished my plane and used it by Monday of the 12th week. If you look closely at the pictures of the interior of my plane cabinet below, you will see the wooden plane to the left of the iron plane.
We worked hard the 12th week to finish up our projects. I started working on the plane 'till' I had originally designed two months ago. This was an added project, since I had completed the basic casework project weeks earlier.
First I re-sawed a piece of Cherry I had saved, making two pieces, each about 1/4" thick. Then I glued them together to make a panel to fit in the large opening of the plane cabinet.
I had planned for the panel to be held in the cabinet at an angle which was sufficient to keep the planes upright, but would give plenty of room for the totes (handles). What I had not designed was the method of keeping the panel at the correct angle in the box. So, at least a day was spent in trying out different techniques to support the panel at a shallow angle. It seems obvious now, but after a lot of fiddling around, my solution was to build a framework with two large Poplar right triangles cut at the appropriate angle, so that they would rest against the back panel of the box.
I built the frame and then glued the panel to it. I had to make a second set of triangles to back up the first one so that I could clamp the panel to the frame. Otherwise, the clamps would not work. They would just slip off the angled part.
Before I glued the panel to the framework, I had cut shallow grooves in the panel to accept Cherry strips to delineate where the planes would be set. Gluing in those strips, especially the two on the outer edges, proved to ber a real trial, and possibly the most frustrating thing I did during the entire 12 weeks. I tried at least five times to glue on the first strip. While I could get the clamps on when I did a dry trial run, as soon as I put glue on the strip, it would slip. Either the strip would be gapped from the crosspiece to which it was supposed to be flush, or it would slip sideways, or the whole thing would "explode" as all the clamps lost grip and fell off.
Christophe, seeing my extreme frustration (it was pretty obvious: I threw a clamp across the shop) suggested burying pins in the strips so they wouldn't move. I hammered some short brads into the edge of the panel, cut off their heads, and sharpened the ends to a point. Then I placed the strip in place and used light mallet taps to set it. I removed it, spread glue, and clamped it up. It worked! Thanks, Christophe. My mistake was waiting to glue in the strips until after I had glued the panel to the frame. Had I glued them on first, it would have been much easier. Lesson learned.
I finished gluing on the rest of the strips and fitting the whole assembly into the box by the time we had to stop work Thursday afternoon.
Once work stopped, we cleaned up the drawing room and moved in all of our projects so that we could display them for the faculty, other students, and the general population and tourists who might be visiting.
Each student gave a short talk about who they were, why they were at the school, and what they had accomplished while there. I have to say that my classmates created some remarkable pieces of furniture during the course.
I revealed the secret of my "Palindrome Box." Can you tell me what it is? If you can, let me know privately.
After the 'show and tell' session, we turned the drawing room into a photography studio, and Tim Hogan, a member of our class who is a professional photographer , took pictures of everyone's project. Here are the ones he took of my cabinet and box. Thanks, Tim.
 | ||
| Me and my plane cabinet |

 |
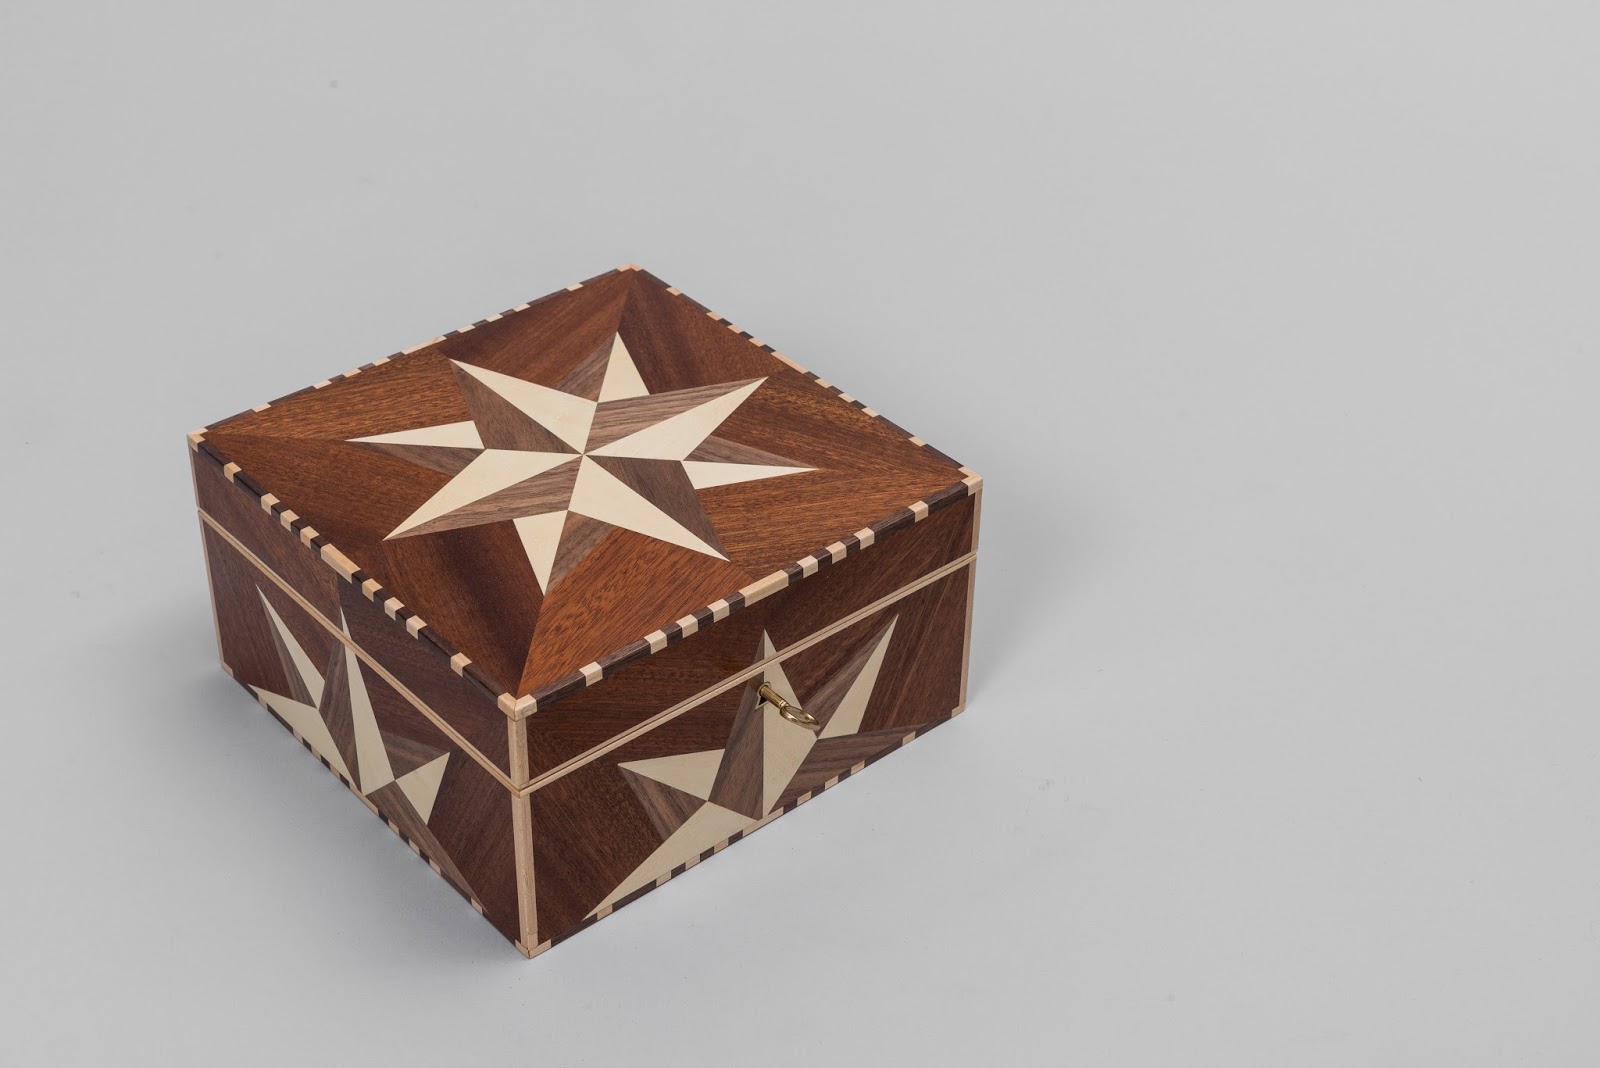 |
| The Palindrome Box |

Friday, we cleaned out all of our stuff, and returned the entire building back to the way we found it when we arrived in June. In the evening, we met at a local pizza place and celebrated our survival of the Twelve Week Intensive Furniture course at the Center for Furniture Craftsmanship.
I packed up the truck and took off Saturday morning for North Carolina, arriving home late Sunday evening.